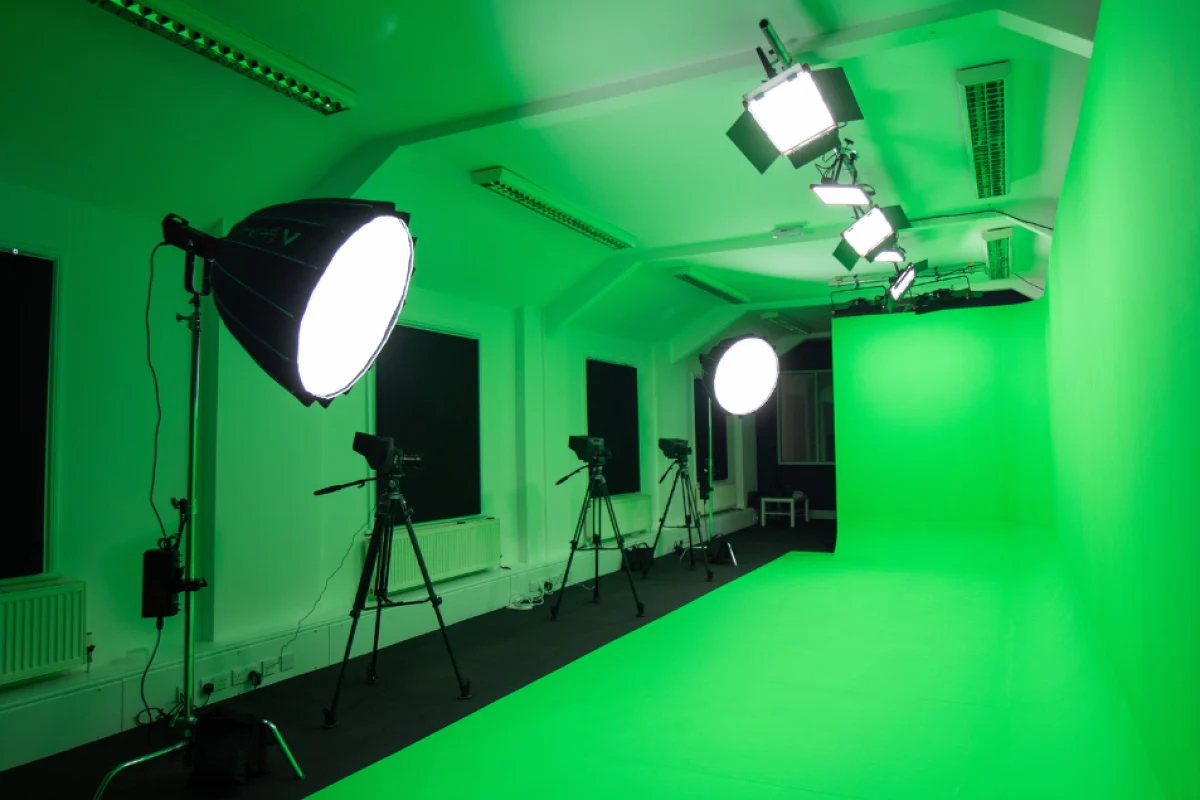
Ever since the start of the pandemic, virtual events and live streaming have been booming! As the world has been tucked away in their homes, we have switched to the online world of events and networking. A lot of people have been asking the question, how can I take make online events to the next level and stand out in a sea full of others? Well.. Green screens are a powerful tool which can completely transform your event and blow your audience away!
What are the benefits of Green Screens?
There are endless benefits of using green screens for your virtual events! They enable you to explore all the different effects which are available ensuring that you stand out from the crowd and make your video as unique as possible. You can create the perfect backdrop with an option of branding so your audience can easily know who you are, remain professional and create brand recognition. They save plenty of time compared to normal sets as they are quick and easy to set up. Find out more on the advantages of Green screens here.
How to use a Green Screen
1. Set Up
To begin with, you want to set up your green screen so it covers the whole background of your shot. Make sure it’s completely flat with no crinkles in as this will affect the quality of it.
2. Lighting
Lighting is a crucial element towards the success of your content. If you don’t have enough lighting, it will come out patchy and unprofessional. It’s advised to have a separate lighting set up behind the camera to capture the content as best as possible. By using normal room lighting, this may cause shadows in the content, and won’t give enough brightness.
3. Action
This is the easy bit… Go ahead and film your scene! Be sure to have monitors in place so you can see how it comes out on camera, whether you need to make any adjustments such as lighting or positioning and be sure to take plenty of scenes to make sure it’s perfect!
4. Edit Content
Once you’ve filmed, be sure to edit your content down to its final cut. There’s no point of editing out the green screen until you’ve done this as you’ll waste lots of time!
5. Add Your Background
Edit out the green screen using editing software. Once you’ve done this, pick the background of your choice, whether it’s your company branding, a place around the world or a PowerPoint! Keep your eyes peeled as now’s the time to make changes such as the lighting, last minute editing, and details to make it look as realistic as possible.
Let's wrap this up...
Green screens are an effective way to transform your virtual event! It’s a powerful tool that you must take advantage of! With endless benefits, it’s about time you step up and take your content to the next level! Now you know how to use one, what are you waiting for? Here at Fresh Productions, we can take the hassle away and do all of the work for you. Get in touch with a team member today! We’d love to hear from you!

